Classic Car Paint Preparation: The Finish Is Only as Good as What Lies Beneath
There is a moment in almost every restoration when the car finally begins to look ready for paint.
The panels are straight. The repairs are finished. The body is one uniform color of primer. Under the shop lights, it can be tempting to believe the difficult work is behind you.
That is usually the moment when the most important work begins.
Beautiful paint does not hide poor preparation. It magnifies it. A wave in a quarter panel, a sanding scratch, a soft edge, trapped contamination or a mismatched repair may be easy to overlook in primer. Once color and clear go on, the reflection points directly at the flaw.
I have learned to think of paint preparation as the foundation of the finish. The color is what people notice, but the stripping, cleaning, repair, sanding, blocking, priming and repeated inspection underneath determine whether that color looks right—and whether it still looks right years later.
If you are preparing a classic car for paint, patience here is not delay. It is progress.
Decide What Kind of Finish You Are Building
Before removing the first layer of old paint, decide what the finished automobile is supposed to be.
A historically faithful restoration, a high-quality driver and a custom show car can all be excellent automobiles. They do not necessarily require the same level of surface refinement, materials or final appearance.
Factory bodies often carried small variations. Panel transitions were not always laser-straight. Fiberglass texture, seams and production evidence may have been visible in places. A custom show finish may deliberately correct every one of those characteristics. A preservation-minded restoration may retain more of them.
Neither approach is automatically right or wrong. The mistake is drifting from one standard to another halfway through the work.
Write down the goal. Photograph the starting condition. Discuss gloss, color, panel fit and acceptable factory character before expensive paint materials are opened. The restoration philosophy you choose should guide every decision that follows.
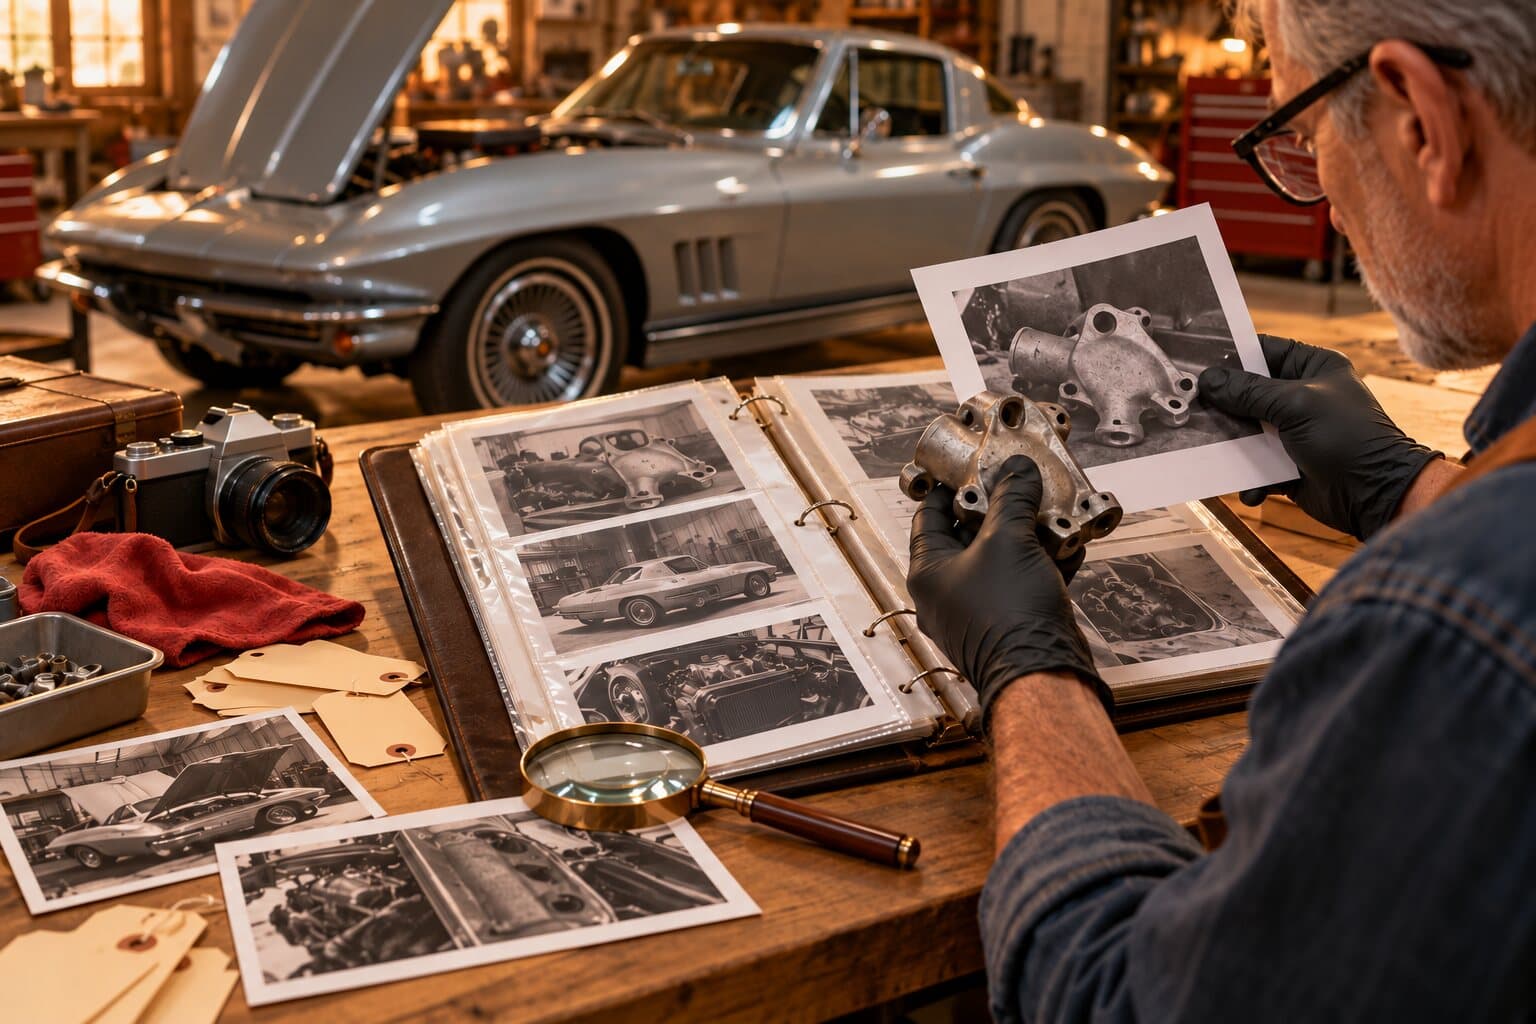
Document the Car Before You Strip It
Old paint is evidence.
It may reveal previous repairs, original color, primer shades, masking lines, overspray patterns and the order in which assemblies were finished. Protected areas behind trim, weatherstripping, hinges and interior panels can preserve information that disappeared from exposed surfaces decades ago.
Before sanding or chemically stripping anything:
Photograph every panel in broad views and close detail.
Record cracks, checking, bubbling, chips and suspicious transitions.
Photograph door jambs, hinge areas, wheel openings and the backs of removable panels.
Note paint thickness readings when they are useful and the surface allows reliable measurement.
Save labeled samples from important layers when originality matters.
Record factory markings before cleaner, abrasive or primer removes them.
These photographs are not only for historical interest. They become a diagnostic map. Six months later, when a repaired area behaves differently from the surrounding panel, you will know what was beneath it.
Strip the Finish—or Build on What Is There?
Not every classic car must be stripped to bare metal or bare fiberglass. Not every existing finish deserves to remain.
The decision depends on adhesion, thickness, age, material compatibility, cracking, contamination and the history of previous repairs. A stable original finish may sometimes provide a sound substrate after proper preparation. Multiple repaints, lacquer checking, widespread corrosion, lifting edges or unknown materials can make complete removal the safer choice.
Do not make that decision from one convenient corner. Inspect the entire body. A clean hood does not prove the lower quarters are sound. A shiny topcoat can hide layers of filler and incompatible primer.
Test areas in several locations. Look at panel edges and old repair boundaries. If you find lifting, moisture, heavy film build or widespread failure, assume the visible defect is only part of the story until proven otherwise.
Removing paint is not automatically harmless. Aggressive blasting can warp thin sheet metal, damage fiberglass and drive abrasive into seams where it later reappears. Chemical stripper can remain trapped in joints or porous material if the process is not controlled. Sanding generates heat and can erase contours when concentrated in one place.
Choose the removal method for the substrate, the panel and the evidence you are trying to preserve—not merely for speed.
Metal and Fiberglass Need Different Thinking
The word “bodywork” makes very different materials sound interchangeable. They are not.
Steel panels can rust, stretch, shrink and distort. Fiberglass can crack, print through, delaminate and absorb contamination in ways metal does not. Aluminum introduces another set of preparation and compatibility requirements.
On steel, remove corrosion rather than sealing over it. Inspect flanges, seams and the back side of the panel. Rust bubbling through a painted surface usually began somewhere the topcoat could not protect. Correct the source, repair the metal properly and protect hidden surfaces where appropriate.
On fiberglass, do not treat every crack as a cosmetic scratch. A crack can be the visible end of stress, impact damage, a failing bond or an old repair made with incompatible material. Grind only as much as the repair system requires, taper the repair correctly and rebuild strength rather than filling the surface alone.
The 1966 Corvette is a good reminder that fiberglass bodywork demands restraint. A power tool can remove a surprising amount of material before you realize the original contour has changed. Long, controlled strokes and repeated shape checks are more valuable than speed.
Always use a repair system designed for the substrate, and follow the product manufacturer’s technical data sheet. “It worked on the last car” is not a compatibility specification.
Clean Before You Sand—and Keep Cleaning
Sanding a dirty panel can grind contamination into the surface.
Classic automobiles accumulate wax, oil, road film, silicone dressings, fingerprints, polish and decades of unknown products. Silicone is particularly unwelcome around refinishing because even a small amount can contribute to defects.
Begin with appropriate cleaning before heavy sanding. Use clean wipes and replace them rather than redistributing residue. Keep oily tools, aerosol lubricants and silicone products away from the paint-preparation area. Wear clean gloves when the surface reaches its final stages.
Cleaning is not one event. It happens between operations, before primer, during inspection and again before sealer or color according to the refinishing system.
Pay attention to seams, holes, pinchwelds and recessed areas. Abrasive dust hidden in a gap has a remarkable ability to appear when air pressure or spray-gun movement reaches it.
Complete Structural and Metal Repair First
Body filler is not a substitute for correct metalwork.
If a panel is stretched, rusted through or poorly welded, solve that problem before trying to sand the surface flat. The closer the metal is to the intended shape, the thinner and more stable the finishing materials can be.
Check welds for pinholes. Dress repairs without thinning the surrounding panel unnecessarily. Inspect both sides whenever access allows. Confirm that braces, mounts and adjacent structure are in their proper position because a beautiful skin over distorted structure is still a distorted body.
When corrosion repair changes a lower fender, rocker or quarter panel, temporarily fit the neighboring parts again. A repair that looks perfect on a stand may alter a door gap when bolted to the car.
This is where classic car body panel alignment becomes part of paint preparation. The body must be assembled honestly before its surfaces can be judged honestly.
Align the Panels Before Final Blocking
Doors, hood, deck lid, headlight doors, valances and removable panels should be fitted as a system before final paint.
Panel gaps affect the way highlights travel across the body. A door that sits slightly proud may look acceptable in dull primer and obvious in gloss. Weatherstripping, hinges, latches, bumpers and trim can all influence final position.
Install or mock up as much as practical:
Hinges and latches
Weatherstripping or representative seals when fit depends on them
Bumpers, brackets and valances
Exterior trim with critical mounting holes
Glass hardware where it influences door alignment
Hood springs, supports and related hardware
Protect the surfaces and use the correct hardware or accurate substitutes. Record shim positions. Make reference marks in places that will not remain visible. Then inspect the body from low angles and under changing light.
Final blocking across adjacent panels may require them to be aligned together. If you block every panel separately and assemble them after paint, each piece may be straight by itself while the reflections fail to connect across the car.
Understand What Each Primer Is Supposed to Do
“Primer” is not one universal product.
Epoxy primer, etching products, primer-surfacer, polyester primer and sealer perform different jobs. The correct sequence depends on the substrate, repair materials, environmental conditions and complete paint system.
One product may protect bare metal. Another provides film build for blocking. Another creates a uniform final surface before color. None should be chosen because the label simply says primer.
Use products intended to work together. Read the current technical data sheets for mixing ratios, induction time, film build, flash time, sanding windows, recoat windows, substrate requirements and protective equipment. If a filler manufacturer and a primer manufacturer give different instructions about where a product belongs in the sequence, resolve the compatibility question before application.
Mixing brands and chemistries without a verified system can produce failures that do not appear until weeks or months after the car leaves the booth.
The safest rule is simple: build the finish as a documented system, not as a shelf full of favorite products.
Sanding Is a Sequence, Not a Single Step
Every abrasive scratch must be removed by the next appropriate stage.
Skipping too far ahead does not save time. A finer paper may polish the peaks of a coarse scratch while leaving its deepest portion behind. Primer or color can shrink into that scratch later and reveal it under the finish.
There is no universal grit sequence for every material and paint system. The correct progression depends on the existing finish, repair material, primer and topcoat. Follow the product data, and use the least aggressive abrasive that will do the job efficiently.
Keep the paper clean. A loaded sheet can create random deep scratches. Change it before frustration makes you apply more pressure. Use backing pads and sanding blocks appropriate to the contour. Fingers alone create uneven pressure and can leave grooves that only become visible under gloss.
Mark completed stages in your work log. On a large project, it is easy to forget whether one corner received the final pass or was only scuffed for the previous operation.
Why Long-Block Sanding Matters
A sanding block is a measuring tool that happens to remove material.
A long block bridges highs and lows that your hand will follow. Used correctly, it helps establish a consistent plane and exposes waves that are nearly invisible in uniform primer.
Work in controlled, overlapping strokes. Cross the panel in more than one direction where the shape permits. Let the block follow the intended contour instead of forcing a flat tool against a crowned surface. Match the block’s flexibility and length to the panel.
This is physical work, but more pressure is rarely the answer. If the paper is not cutting, it may be loaded, too fine or poorly supported. Heavy pressure can flex the panel, round an edge or make the block follow a low area rather than reveal it.
The goal is not to sand until everything is the same color. The goal is to create the correct shape.
Guide Coat Tells the Truth
Guide coat is one of the simplest and most revealing tools in body preparation.
A contrasting guide coat settles across the primer. As the panel is blocked, high areas clear first while low spots, pinholes and sanding scratches retain the contrast. The pattern gives you information your eyes and fingertips may miss.
Do not sand deeper simply to make the remaining guide coat disappear. If a low spot persists, stop and determine why. The panel may need more correction, another controlled primer application or a return to earlier repair work.
Guide coat is especially valuable around transitions, broad quarter panels, long hoods and the subtle crowns that define a classic body. It also shows whether your sanding pattern is consistent.
When the surface finally reads evenly under the block, you have evidence—not just optimism—that the panel is progressing.
Protect Edges, Crowns and Body Lines
Edges sand faster than broad surfaces.
So do sharp crowns and body lines. The sanding block contacts a smaller area, which concentrates pressure. A few careless strokes can cut through primer, soften a crease or change the character line that makes the body recognizable.
Use masking tape to protect vulnerable edges during broad blocking when appropriate. Remove it at the correct stage and finish the area carefully. Do not chase a cut-through by sanding the surrounding panel until everything matches.
Study original photographs and undisturbed areas before sharpening or softening a line. A restored panel should not acquire a crease the factory never formed, and a real crease should not disappear because rounding it was easier.
Openings deserve the same attention. Wheel lips, door edges, headlamp openings and hood margins must look deliberate, but they also need enough material left to remain durable.
Use Light, Reflection and Touch
Overhead shop lights alone are not enough.
Move a bright inspection light across the panel at a low angle. Change your viewing position. Look along the length of the body rather than directly at it. Reflections exaggerate surface movement and help identify waves before the paint does it for you.
Your hand can detect what your eyes miss. Place a clean, thin cloth between your palm and the panel and move across the surface with light pressure. The cloth reduces the distraction of texture and helps you feel changes in contour.
Inspect the car assembled and at realistic ride height when possible. A panel can appear different when it is upright, loaded on its mounts and viewed from the distance people will actually see it.
Then repeat the inspection the next day. Fatigue changes judgment. After hours of sanding, your eye begins accepting a flaw simply because it wants the work to be finished.
Do Not Forget Jambs, Backs and Hidden Surfaces
Exterior panels receive most of the attention because they create the reflection. The less visible areas often determine durability and authenticity.
Prepare door jambs, hinge pockets, trunk channels, hood edges, wheel openings and the backs of removable panels with the same system-minded care. Clean seams. Address corrosion. Preserve drains. Confirm that coatings do not interfere with grounds, fastener seating or mechanical movement.
Research the correct finish before making every hidden surface body color and glossy. Factory paint coverage, primer exposure, blackout areas and overspray varied by vehicle and assembly process. The principles discussed in Engine Paint Correctness apply to body finishing too: new-looking and historically believable are not always the same thing.
Dry-Fit Trim Before the Paint Booth
One of the most expensive times to discover a missing hole is after color and clear.
Test-fit trim, emblems, moldings, lamps, handles and weatherstrip retainers before the final finish. Verify that mounting holes are present, correctly located and not buried under repair material. Confirm that clips fit without excessive force.
Do not install sharp hardware carelessly on a nearly finished surface. Use protective tape and mock-up fasteners where practical. The objective is to prove fit and location, then remove the parts in a documented sequence.
Photograph every completed mock-up. Bag and label the hardware. Note any special installation order. Final assembly should not become an experiment conducted inches from fresh paint.
Build a Clean Final-Preparation Routine
The last preparation stage should be boring, repeatable and controlled.
Check the entire body against a written list. Confirm the specified final sanding stage for the paint system. Blow out and vacuum seams using the procedures appropriate for the shop. Clean the surface with the approved products and wipe method. Use clean gloves. Keep the work area free from silicone, oil and unnecessary traffic.
Review masking edges and openings. Make sure paper cannot flap into the finish and tape is suitable for the process. Inspect for lint, residue, pinholes and fingerprints under bright light.
If a defect appears, stop. The paint booth is not a deadline that makes the defect disappear.
It is far easier to correct a flaw in primer than to sand it out of an expensive finished surface.
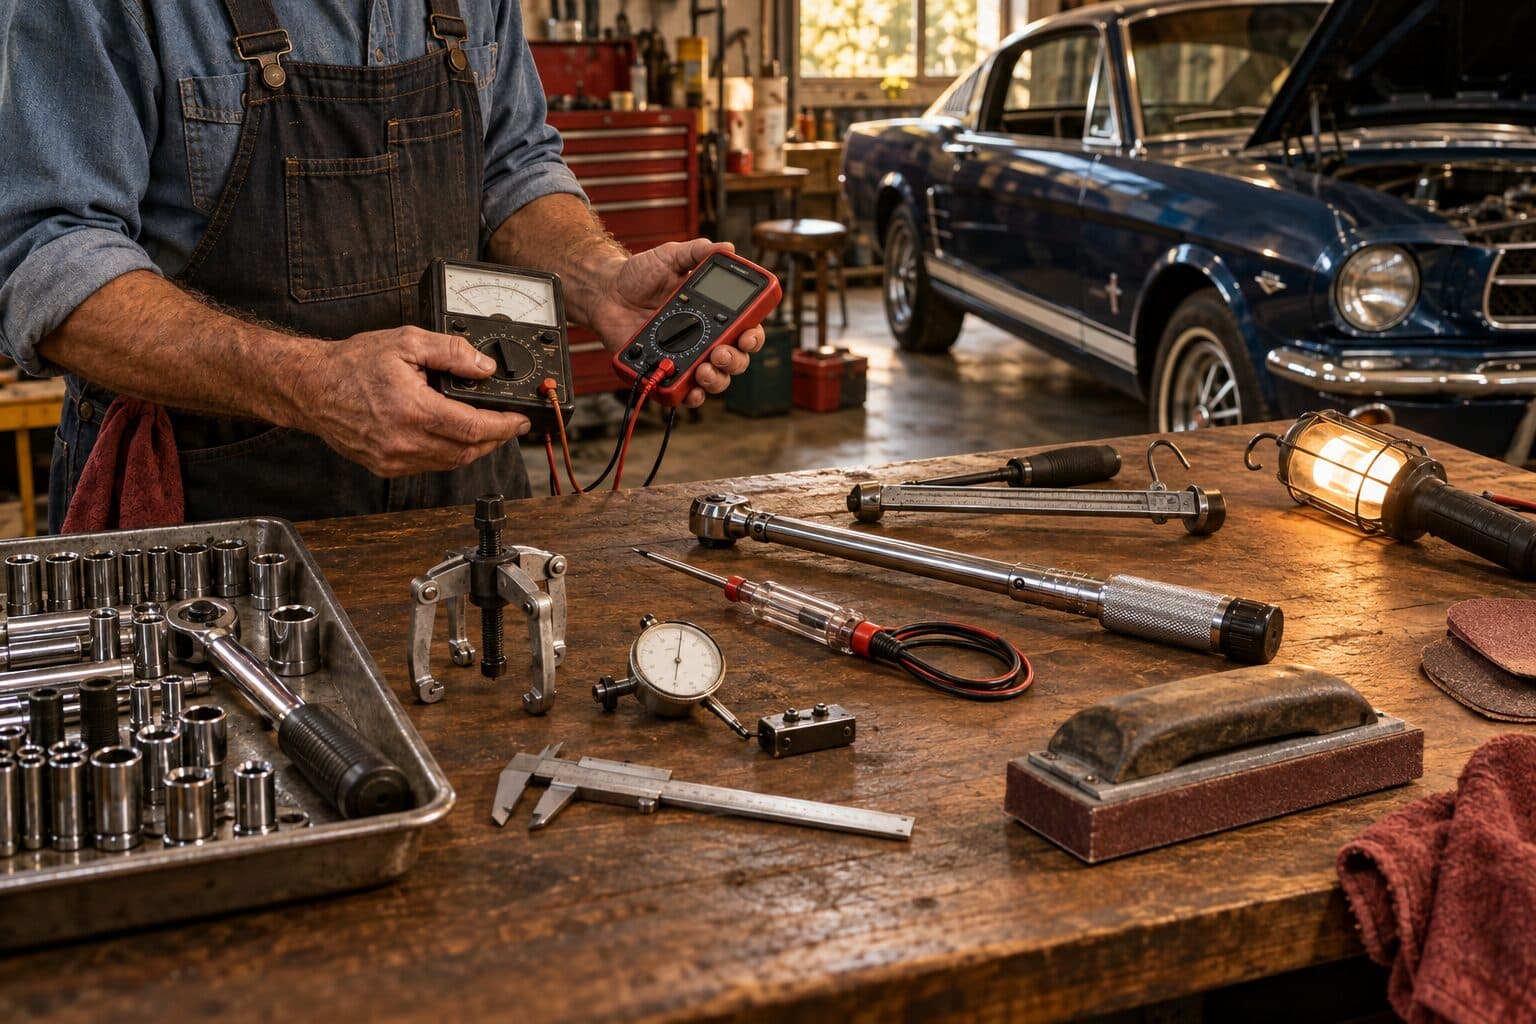
Paint-Preparation Tools That Earn Their Place
The right tools do not replace judgment, but they make careful work more repeatable.
For classic-car paint preparation, I would rather have a small set of dependable tools than a wall of gadgets. The essentials include:
A selection of long and flexible sanding blocks for flat panels, crowns and transitions
Quality automotive abrasive paper in the grits specified by the paint system
A guide-coat product that contrasts clearly with the primer
Bright movable LED inspection lighting
Clean mixing cups, strainers and dedicated measuring tools
Appropriate cleaning wipes and approved surface cleaner
A reliable respirator and other protective equipment specified for the products in use
A gap-gauge set and masking tape for repeatable panel references
A sanding vacuum or dust-control system suited to the work
You can find practical, restoration-focused recommendations in the Fitzgerald Classics Garage. Tools should earn their place by improving accuracy, safety or efficiency—not because they look impressive on a shelf.
Affiliate disclosure: Some links on Fitzgerald Classics may be affiliate links. As an Amazon Associate, Fitzgerald Classics may earn from qualifying purchases at no additional cost to you. We recommend products because they fit the work—not because they pay a commission.
Explore the Fitzgerald Classics Garage
Common Paint-Preparation Mistakes
Rushing because the car “looks close”
Uniform primer hides differences. Continue checking shape, scratches, edges and contamination until the surface meets the plan—not until impatience wins.
Using the wrong block
A block that is too short follows a wave. One that is too rigid can flatten a crown. Choose the tool for the contour.
Chasing lows by sanding highs too far
If guide coat remains in a low spot, diagnose the low. Do not sacrifice the surrounding shape trying to reach it.
Ignoring panel fit until after paint
Hinges, seals and trim can move panels. Complete the alignment and mock-up first.
Mixing products without verifying compatibility
A durable finish depends on the entire coating stack. Follow current technical data sheets and documented recoat windows.
Treating dust control as a booth-only problem
Dust trapped in seams or circulating through the preparation area can contaminate later stages. Clean continuously.
Letting fatigue make the final decision
Walk away, change the light and inspect again. Fresh eyes cost less than repainting a panel.
Fitzgerald Insight
There is a reason paint preparation tests patience.
Much of the work disappears.
Nobody at a car show will point to a quarter panel and compliment the hours spent correcting a low spot in primer. They will not see the guide coat, the first blocking pass, the repaired pinhole or the evening spent adjusting a door before the final sanding began.
They will only see the result.
That can make preparation feel like an obstacle between the restorer and the rewarding part—the color.
I think it helps to see it differently.
Every careful sanding pass is shaping the reflection the finished car will carry. Every documented product and repair is protecting the next person who works on it. Every decision to stop and correct a flaw is a decision not to bury a problem beneath expensive materials.
The final paint is not where quality is created.
It is where quality is revealed.
That is why the best paint jobs often come from people who are willing to spend the longest time looking at a car while it is still gray.
Frequently Asked Questions About Classic Car Paint Preparation
Should every classic car be stripped to bare metal or fiberglass before paint?
No. A stable, compatible existing finish can sometimes remain after thorough inspection and correct preparation. Widespread cracking, poor adhesion, heavy film build, corrosion or unknown incompatible layers may justify complete removal. Test multiple areas before deciding.
What is the purpose of guide coat?
Guide coat provides contrast during blocking. It reveals low areas, sanding scratches, pinholes and inconsistent sanding patterns that are difficult to see in uniform primer.
Can a dual-action sander replace hand blocking?
A dual-action sander is efficient for appropriate stages, but it does not replace long-block sanding when the goal is to establish panel shape and reveal waves across a broad surface.
How do I choose the correct sanding grits?
Use the sequence specified for the repair material, primer and topcoat system. There is no single universal progression. Avoid large jumps that can leave coarse scratches beneath the next stage.
Is paint preparation different on a fiberglass Corvette?
Yes. Fiberglass requires attention to cracks, stress, old repairs, delamination, contamination and heat from aggressive sanding. Use materials and procedures intended for fiberglass and preserve the original contours.
When should panel alignment be finalized?
Before final blocking and paint. Fit doors, hood, deck lid, trim-critical parts, latches, weatherstripping and related hardware as a system so gaps and surface transitions can be corrected before the finish is applied.
Why can a paint defect appear months after the restoration?
Materials continue to cure and shrink. Coarse scratches, excessive film build, trapped contamination, unstable repairs or incompatible products may become visible later even if the fresh finish initially looked good.
Prepare the Finish You Want to Live With
The most expensive paint in the world cannot rescue a poorly prepared body.
Start with a clear restoration objective. Preserve evidence before stripping. Repair the substrate honestly. Align the panels as a system. Use compatible materials, controlled sanding steps, guide coat and changing light. Protect edges. Dry-fit the parts. Clean repeatedly.
Then inspect it one more time.
At Fitzgerald Classics, we believe the best restorations are built through patient decisions that respect both the automobile and the work still hidden beneath the surface. Explore the site for more practical restoration guidance, real-garage lessons and documented project stories from the 1966 Corvette, 1963 Ford Galaxie 500 convertible and 1957 Nash Metropolitan.
Coming Next
Next Friday, the original Fitzgerald Classics 52-week editorial roadmap continues with:
Classic Car Documentation and NCRS: Proving the Story Behind the Restoration
We’ll look at photo logs, casting and date codes, receipts, judging references, parts records, restoration binders and digital archives—and how careful documentation protects a classic car’s authenticity, history and value.
About the Author
Dan Fitzgerald is the founder of Fitzgerald Classics, a Veteran-Owned automotive publication dedicated to preserving America’s automotive heritage through authentic restoration stories, practical technical guidance and hands-on experience. From documenting a numbers-matching 1966 Corvette to bringing a 1957 Nash Metropolitan back to life, Dan shares the discoveries, mistakes and lessons that happen in a real garage so other enthusiasts can approach their own projects with greater knowledge and confidence.