Classic Car Documentation and NCRS: Proving the Story Behind the Restoration
There is a kind of restoration work that never makes the car run better, stop shorter or shine brighter.
It happens at a desk.
It happens with a camera in one hand and a grease-covered casting number in front of you. It happens when you stop during disassembly to photograph a wiring clip, write the location on a parts bag or save a faded receipt that would otherwise end up in the trash.
That work is documentation.
For years, many of us treated documentation as something separate from restoration. We rebuilt engines, repaired bodies and refinished interiors. Then, if we had enough photographs and receipts left at the end, we assembled a binder.
I have come to believe that is backward.
Documentation should begin before the first wrench turns. It should continue through every repair, every parts decision and every deviation from the original plan. Done properly, it becomes the memory of the project—and sometimes the only surviving evidence of how the automobile was built.
For Corvette owners, the National Corvette Restorers Society adds another dimension. NCRS judging manuals and processes help owners understand factory originality, condition and operation in a disciplined way. But even if your classic will never enter a judging field, the same documentation habits can make your restoration more accurate, more valuable and far easier to maintain.
Documentation Is Part of the Restoration
A restoration can last months or years. Memory is not a reliable parts catalog.
At the beginning, you are certain you will remember which shim belonged behind the upper hinge, which clip held the harness and which fastener came from the left side. Six months later, you may be looking at three nearly identical bags and wondering why one bolt is longer.
Documentation turns those small mysteries into answers.
It also changes the way you work. When you know you are recording a component before cleaning it, you look more carefully. You notice finishes, markings, routing, wear patterns and evidence of prior repair. The camera forces you to observe before you alter.
That matters because restoration is often destructive to evidence. Degreasing can remove inspection marks. Blasting can erase paint layers. Plating can cover a head marking. Fresh upholstery can conceal original fastener positions. Once that evidence is gone, even excellent workmanship cannot recreate the proof that was lost.
This is one reason our restoration philosophy begins with understanding the automobile before improving it.
Start With a Baseline Record
Before disassembly, create a record of the car exactly as it arrived.
Photograph the entire automobile from all four corners, both sides, front, rear, engine compartment, interior, trunk, underbody and wheel openings. Then move closer. Record damaged areas, unusual gaps, missing trim, evidence of old repairs, paint transitions, wiring modifications and anything that appears original.
Include identifiers that establish the car and its major assemblies:
Vehicle identification number and data plates
Body or trim tags
Engine assembly stamp and casting number
Transmission identification and date markings
Rear-axle codes and casting dates
Carburetor, distributor, alternator or generator numbers when relevant
Glass date codes
Wheel, jack and spare-tire details
Key and lock information
Do not clean a faint stamp until you have photographed it. Dirt may obscure information, but aggressive cleaning can erase it entirely.
Take one contextual photograph showing where the marking is located, then a close photograph showing the characters. Add a ruler or scale when size matters. If the number is difficult to photograph, record it in writing and note how confident you are in the reading.
My 1966 Corvette is a perfect example. Its numbers-matching 327/350-horsepower engine, Muncie transmission, rear-axle stamping and dated components collectively tell a story. No single number proves the entire car, but a well-organized body of evidence makes the history understandable.
Photograph the Sequence, Not Just the Parts
Most restoration photographs show a part after it has been removed and placed on a bench.
That is useful, but the most valuable photograph is often the one taken five minutes earlier.
Record how the part was installed. Photograph the fastener stack, wire routing, clip orientation, shim location, hose path and relationship to neighboring pieces. Take wide views for context and close views for detail.
When removing a complex assembly, use a deliberate sequence:
Photograph the complete assembly from several angles.
Photograph the first connection before disconnecting it.
Label the wire, hose or cable at both ends.
Photograph the exposed area after removal.
Bag the hardware with a clear assembly description.
Record any unusual finish, marking or wear pattern.
Do not rely on photographs alone. A picture may not show whether a washer was spring steel, whether a spacer measured 0.090 inch or whether a wire terminal was loose when you found it. Add notes while the information is fresh.
Build a Naming System Before the Photo Count Explodes
A camera roll containing 2,000 restoration photographs is not a documentation system.
Create folders by vehicle, date and assembly. Use filenames that describe the subject rather than accepting a string of automatic numbers.
A simple structure might look like this:
01 — Arrival and baseline
02 — Body and paint
03 — Engine
04 — Transmission and driveline
05 — Chassis and suspension
06 — Brakes
07 — Electrical
08 — Interior and instruments
09 — Trim and hardware
10 — Final assembly and testing
Inside each folder, add a short text file or spreadsheet listing important discoveries, part numbers, measurements, suppliers and unresolved questions.
Dates matter. A photograph labeled “left-door-hinge-shims-before-removal—2026-10-23” is far more useful than “IMG_4387.”
Back up the files in at least two places. A hard drive can fail. A phone can be lost. Cloud storage is convenient, but keep a separate local copy under your control. The documentation may become as irreplaceable as an original component.
Bagging and Tagging Is Documentation You Can Touch
Parts organization is the physical half of the record.
Use one labeled bag or container per logical assembly. Do not throw every front-suspension fastener into one box because it all came from the same end of the car.
A useful label identifies:
Vehicle
Assembly
Exact location
Left or right side
Date removed
Condition
Whether the part is original, replacement or uncertain
Related photograph or note reference
Keep original hardware even when you plan to replace it. It preserves length, thread, shoulder dimensions, head markings, washer style and finish evidence. A replacement kit may be convenient, but the old hardware remains your pattern.
This is where the lesson from choosing original versus reproduction parts becomes practical. You cannot make an informed choice if you no longer know what the car carried.
Create a Component Record
For important assemblies, create a one-page component record.
Include the component name, manufacturer, part number, casting number, date code, condition found, test results, work performed, parts installed, supplier, cost and final disposition.
If the original component is replaced, record why. Photograph the replacement beside the original. Save the removed part when practical and label it so a future owner understands what it is.
The record becomes especially valuable for electrical items, gauges, carburetors, starters, generators, distributors and other parts that may be rebuilt more than once during the car’s life. A label that says “tested” is helpful. A record stating how it was tested, by whom and with what result is better.
Our articles on gauge restoration and classic-car electrical troubleshooting both come back to the same principle: measurements and evidence are more useful than assumptions.
Receipts Are Technical Records
A receipt is not merely proof that money was spent.
It can identify a part number, production source, rebuild specification, paint system, material batch, machine-shop operation or warranty date. Years later, that information can make service considerably easier.
Save invoices for:
Machine work and engine balancing
Carburetor, distributor, starter and generator rebuilding
Gauge and radio restoration
Paint materials and color formulations
Plating and polishing
Upholstery and top work
Brake and suspension components
Tires, wheels and alignment
Major reproduction parts
Write the vehicle mileage and installation date on the record. If the vendor invoice uses a vague description, add your own note explaining exactly where the part was installed.
Do not confuse receipts with proof of originality. A receipt proves that a transaction occurred. It does not prove that the component was installed at the factory. Documentation is strongest when different forms of evidence support one another.
Learn the Difference Between Evidence and Conclusion
Restoration research requires discipline.
A casting date is evidence. A part number is evidence. An old photograph is evidence. A previous owner’s recollection is evidence. None automatically proves the entire conclusion you want to reach.
For example, a correctly dated engine block may be appropriate for the car without being the block installed when the car was assembled. A component found on the car may be old and authentic to the period without being original to that vehicle.
Record what you know, what you believe and what remains uncertain.
I like three simple labels:
Confirmed: supported by direct, reliable evidence.
Probable: consistent with the evidence but not proven.
Unknown: insufficient information to make a responsible claim.
Honest uncertainty protects credibility. It is better to say, “period-correct transmission; original installation not confirmed,” than to turn a possibility into a fact.
What NCRS Adds to the Process
The National Corvette Restorers Society has developed detailed standards and model-specific references for evaluating Corvette originality, condition and operation.
NCRS Flight Judging is not simply a cleanliness contest, and cars are not ranked against one another. A Corvette is evaluated against a standard using a points system. Both restored and original cars can be candidates, and originality is considered in the context of how the car left the factory.
That approach is valuable even if an award is not your objective.
It encourages the owner to study the automobile as a manufactured object. Which fastener belongs here? What finish did the factory apply? How was the harness routed? Was this component installed before or after paint? What should operate, and how?
The current NCRS sample score sheets organize evaluation into five broad areas:
Operations
Interior
Exterior
Chassis
Mechanical
The score sheets alone are not a substitute for the model-specific Technical Information Manual & Judging Guide or the Judging Reference Manual. Use the current editions for your year, because standards and accumulated research can change.
NCRS also offers Open Class judging for Corvettes that do not fit the traditional Flight Judging objective. The important lesson is that you should understand the class and standard before preparing the car. Do not build toward an award category you have never studied.
NCRS Documentation Does Not Begin on Judging Day
If you are preparing a Corvette for NCRS evaluation, start with education rather than a shopping list.
Obtain the correct manuals. Review the official sample judging score sheets. Attend a judging school or local chapter event when possible. Observe cars being evaluated. Learn how originality and condition are treated before replacing components in pursuit of points.
Create a section of your project record for each judging area. List every known deviation, unresolved question and operation that must be checked. Photograph date codes and component details while they remain accessible.
Keep your documentation organized, but do not expect a binder to substitute for what is physically on the car. The purpose of the record is to guide your research, support honest history and help you understand the automobile—not to argue every deduction.
The best judging experience should be educational. A score sheet can become a prioritized restoration plan if you approach it with curiosity rather than defensiveness.
Document Changes, Even When They Are Improvements
Many classic cars receive sensible upgrades for safety, reliability or usability.
A dual-circuit master cylinder, electronic ignition hidden inside an original distributor, modern radial tires or an internally updated radio may fit the owner’s purpose. The documentation should explain the change.
Record:
What was changed
Why it was changed
Whether original structure was altered
Which original parts were retained
How the modification can be reversed
What new service requirements apply
This protects the next owner and the next mechanic. It also prevents a future restorer from mistaking a thoughtful modification for a factory detail.
When possible, preserve the removed original component with the car. Package related hardware and include a copy of the installation note.
Build a Restoration Binder That Can Be Used
A beautiful binder is not helpful if nobody can find anything in it.
Organize the physical record into sections that mirror the digital archive:
Vehicle identity and ownership history
Baseline photographs
Factory documentation and reference material
Engine and fuel system
Transmission and driveline
Chassis, suspension and brakes
Electrical and instruments
Body, paint and trim
Interior and convertible top
Receipts, vendors and warranties
Test results, alignment and final setup
Awards, judging sheets and event records
Use copies for anything you handle frequently and protect irreplaceable originals. Avoid adhesives that can damage old paper. Scan titles, invoices, photographs and correspondence at a useful resolution, but follow applicable privacy and ownership rules before sharing documents publicly.
Create a one-page summary at the front. It should state the car’s year, model, VIN, major configuration, known ownership history, restoration dates, principal work performed and the location of supporting records.
Documentation Can Protect Value—But It Cannot Manufacture History
Buyers generally prefer a car whose story can be understood.
Photographs of the work, receipts from respected specialists, component records and honest notes reduce uncertainty. They demonstrate that the restoration was approached thoughtfully and make future maintenance easier.
But documentation must never be used to create a history the car did not live.
A reproduction window sticker is not an original window sticker. A restamped component should not be represented as untouched factory evidence. A binder assembled last month cannot transform an unsupported claim into provenance.
The value of documentation comes from accuracy, continuity and honesty.
That principle matters whether the car is judged, sold or kept in the family. The record should allow the next person to distinguish factory evidence, restoration work, later maintenance and owner preference.
Documentation Tools That Earn Their Place
The best documentation tools are simple enough to use every day.
For a restoration project, I recommend:
A dedicated camera or phone with reliable close-focus capability
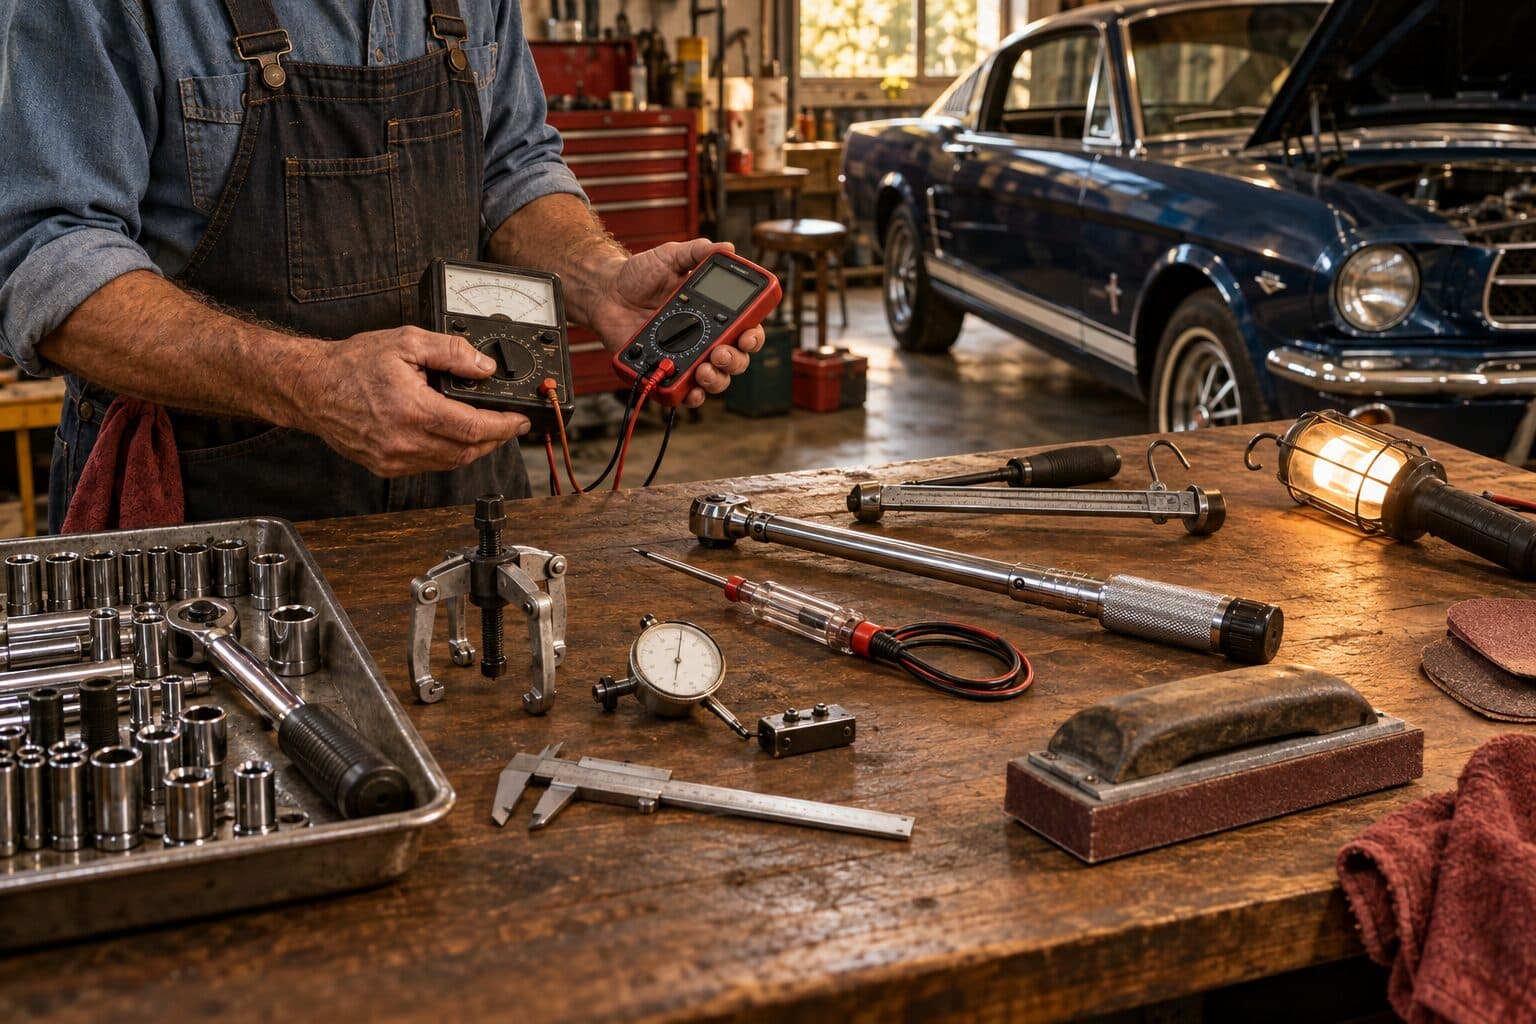
A bright rechargeable inspection light
A digital caliper for repeatable measurements
Durable parts tags and archival markers
Heavy resealable bags and divided parts containers
Acid-free sheet protectors and a sturdy binder
A flatbed or document scanner
A portable backup drive plus a separate second backup
A small whiteboard or reusable photo slate for identifying parts in pictures
The Fitzgerald Classics Garage is where we collect practical tools and supplies tied to the work rather than filling a catalog with things nobody needs.
Affiliate disclosure: Some links on Fitzgerald Classics may be affiliate links. As an Amazon Associate, Fitzgerald Classics may earn from qualifying purchases at no additional cost to you. We recommend products because they fit the work—not because they pay a commission.
Explore the Fitzgerald Classics Garage
Common Documentation Mistakes
Waiting until reassembly
The original evidence is strongest before cleaning, repair and refinishing. Begin at arrival, not completion.
Taking only close-up photographs
A detailed image without context may be impossible to locate later. Take a wide view, a medium view and a close view.
Using vague labels
“Corvette bolts” will not help you. Identify the exact assembly, position and side.
Trusting a single source
Previous owners, internet photographs and reproduction catalogs can all be useful—and all can be wrong. Compare multiple reliable sources.
Treating a date code as complete proof
Correct timing makes a component plausible. It does not by itself establish original installation.
Saving records in only one place
One failed drive can erase years of work. Maintain separate backups.
Hiding inconvenient information
Honest records protect the car’s story. Concealed modifications or unsupported claims eventually damage trust.
Fitzgerald Insight
Restoration is often described as returning an automobile to the way it was.
But how do we know what it was?
We know because evidence survives.
A photograph shows where the clip sat. A dated casting narrows the story. A service receipt explains why a component changed. A faded paint edge preserves an assembly sequence. A judging manual helps us compare what we found with accumulated research.
Without documentation, restoration can become a collection of confident guesses.
I do not believe every old car needs a museum archive. I do believe every restorer owes the automobile an honest record of what was discovered, what was changed and what remains unknown.
The binder is not separate from the car.
It is the part of the restoration that allows the truth to travel with it.
Long after fresh paint begins showing age and a rebuilt component needs service again, that record may be the clearest connection between the automobile’s past and its next chapter.
Frequently Asked Questions About Classic Car Documentation and NCRS
Does documentation prove a classic car is numbers-matching?
Documentation can support the claim, but no single receipt, photograph or date code proves the entire car. Evaluate the physical identifiers, chronology, ownership record and reliable model-specific references together.
Do I need NCRS judging to restore a Corvette correctly?
No. NCRS resources are valuable research tools whether or not the car is judged. Judging provides structured evaluation and education, but the restoration objective belongs to the owner.
Is NCRS judging only for perfect restored cars?
No. NCRS states that both restored and original cars can be candidates for Flight Awards, with originality and condition considered under its points system.
Should I keep receipts for small parts?
Yes, especially when the receipt identifies a part number, finish, supplier or installation date. Small details can become important years later.
What should I do with original parts I replace?
Photograph, label and store them with their related hardware whenever practical. Record why they were removed and whether the change is reversible.
Is a digital archive enough?
Digital records are efficient and searchable, but maintain more than one backup. Preserve irreplaceable original documents physically and scan them for convenient access.
Can I share every restoration document online?
No. Remove personal addresses, signatures, payment details, policy numbers and other private information before publishing records or photographs.
Give the Car a Record Worth Keeping
Photograph before disassembly. Label before setting a part down. Record the number before cleaning it. Save the receipt before it disappears into a toolbox drawer.
Use model-specific manuals. Separate evidence from conclusion. Document modifications honestly. Build both a physical binder and a protected digital archive.
For Corvette owners, use NCRS as an educational resource and study the current standard before preparing for judging. For every other marque, apply the same discipline through the best factory references, clubs and specialists available.
The finished car will benefit from every careful decision.
So will the person who works on it next.
Explore Fitzgerald Classics for practical restoration guidance, real-garage lessons and documented project stories from the 1966 Corvette, 1963 Ford Galaxie 500 convertible and 1957 Nash Metropolitan.
Coming Next
Next Friday, Fitzgerald Classics will continue the original 52-week editorial roadmap with the next verified topic in its established sequence.
About the Author
Dan Fitzgerald is the founder of Fitzgerald Classics, a Veteran-Owned automotive publication dedicated to preserving America’s automotive heritage through authentic restoration stories, practical technical guidance and hands-on experience. From documenting a numbers-matching 1966 Corvette to bringing a 1957 Nash Metropolitan back to life, Dan shares the discoveries, mistakes and lessons that happen in a real garage so other enthusiasts can approach their own projects with greater knowledge and confidence.